Caching is the most important part in WordPress. Most of the WordPress users use various paid and free wordpress plugins to boost their website’s performance. What many don’t know is that there are many other free options available that they can try. PHP-APCu is an extension that speed-boost your WordPress website. I am using APCu along with fastcgi cache which works blazing fast. Here is a complete guide to configure fastcgi cache.

In this tutorial lets, learn how to Install and Configure APCu for WordPress
Table of Contents
What is APCu and Why its very useful for WordPress?
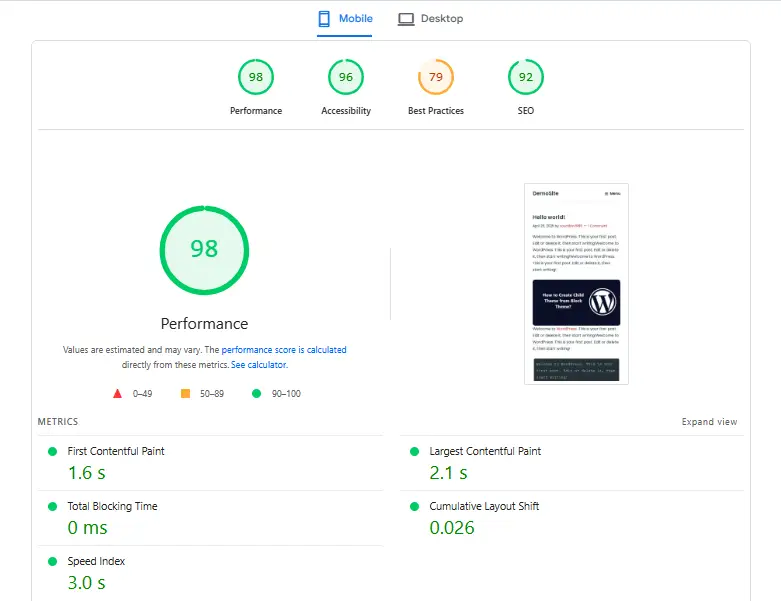
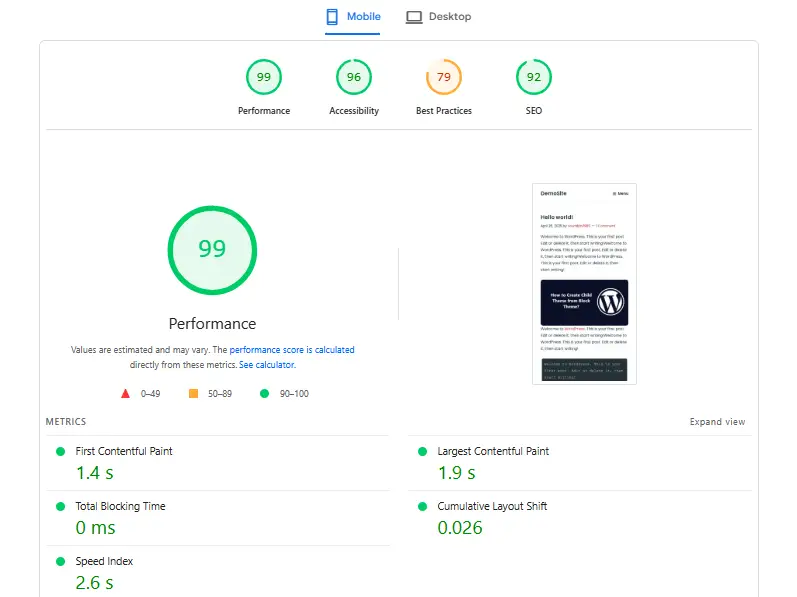
APCu (Alternative PHP cache – User Cache) is a PHP extension that is very powerful and has response time in milliseconds. It is an opcode and object caching system that stores frequently used php scripts and database queries in memory and delivers very quickly when needed. This significantly boosts the performance of WordPress website. I have tested the same in one of my testing website and here are the results
Before implementing APCu

After implementing APCu

Here are the before and after results that I have observed after implementing APCu on my server.
So, now lets come to the most important part, that is implementing APCu
How to Install and enable APCu
Step 1 – Installing APCu
For Ubuntu/Debian
To install APCu on Ubuntu or Debian based server, execute the following command
# sudo apt-get update –y
# sudo apt-get install php-apcu –y
As the installation completes
# sudo systemctl restart apache2 (for apache web server)
# sudo systemctl restart php-fpm (for Nginx web server)
# sudo systemctl restart nginx (for Nginx web server)
For CentOS/RHEL
# sudo dnf update -y
# sudo dnf install php-pecl-apcu –y
As the installation completes
# sudo systemctl restart apache2 (for apache web server)
# sudo systemctl restart php-fpm (for Nginx web server)
# sudo systemctl restart nginx (for Nginx web server)
Step 2 – Configuring APCu for WordPress
After the installation completes, lets modify the settings as per WordPress
# sudo nano /etc/php.d/40-apcu.iniUpdate the parameters as shown below
extension=apcu.so
apc.enabled=1
apc.shm_size=256M  # Adjust based on available RAM
apc.ttl=3600       # Cache lifetime (in seconds)
apc.enable_cli=1   # Enable for CLI (optional)
Save the file and exit
Lets restart the php-fpm service
# sudo systemctl restart php-fpmStep 3 – Configure wp-config.php file
Now lets open wp-config.php file and make changes so that WordPress use APCu efficiently
# sudo nano /var/www/html/yourdomain/wp-config.phpCopy and paste the following just below “<?php”
define('WP_CACHE', true);
define('APCU_CACHE_PREFIX', 'wp_'); // Prevent cache collisions
define('APCU_MEMORY_THRESHOLD', '512M');
define('APCU_CACHE_TTL', 3600); // Default cache expiration time in seconds
Save the file and exit
Its done.
Step 4 – Verify if APCu is working
Execute this command, if it shows the cached data that means its working
# sudo php -r "print_r(apcu_cache_info());"Output
Array
(
    [num_slots] => 4099
    [ttl] => 3600
    [num_hits] => 0
    [num_misses] => 0
    [num_inserts] => 0
    [num_entries] => 0
    [expunges] => 0
    [start_time] => 1746872795
    [mem_size] => 0
    [memory_type] => mmap
    [cache_list] => Array
        (
        )

    [deleted_list] => Array
        (
        )

    [slot_distribution] => Array
        (
        )

)
If you are seeing this, congratulations, you have configured it properly.
Leave a Reply