Installing WordPress locally is the best option for testing various themes, plugins, and other setup. Performing tests on your live site may cause functionality issues, higher loading time, and downtime in case something goes wrong. In this guide, let’s see how to install WordPress on Windows locally.

With a local WordPress setup, you can do anything you want without the risk of losing visitors because of issues caused by the experiments.
Prerequisites
- A Windows PC with an internet connection
Install WordPress on Windows Locally using WAMP
We will use the WAMP package to install a local web server server environment on which we will set up our WordPress. With WAMP, you get Apache2, PHP, and MySQL installed in one go.
Download and Install WAMP
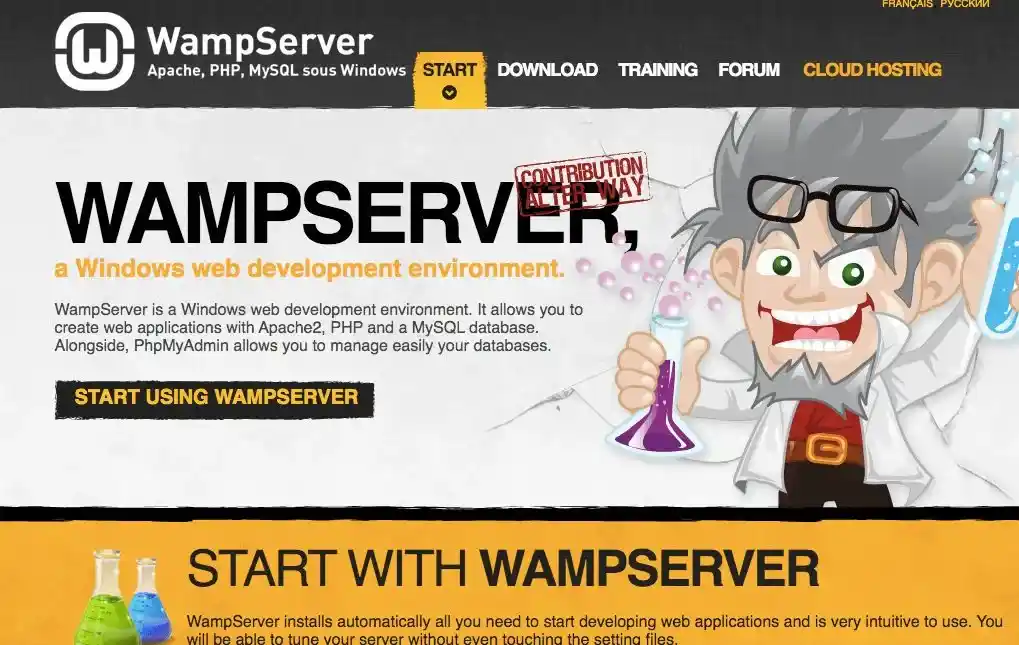
Download the WAMP server as per your system type and install it by executing the downloaded .exe file.
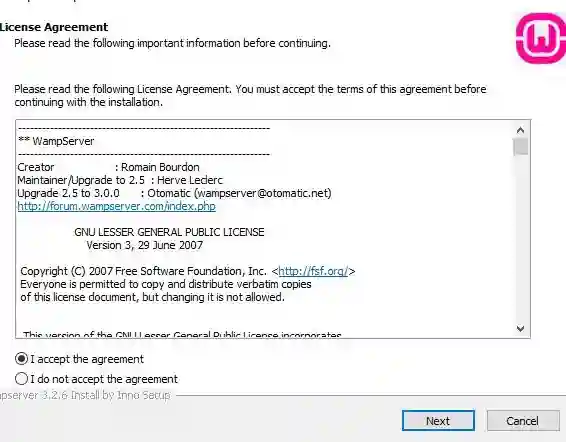
Click on the “I Accept” radio button then click on “Next“
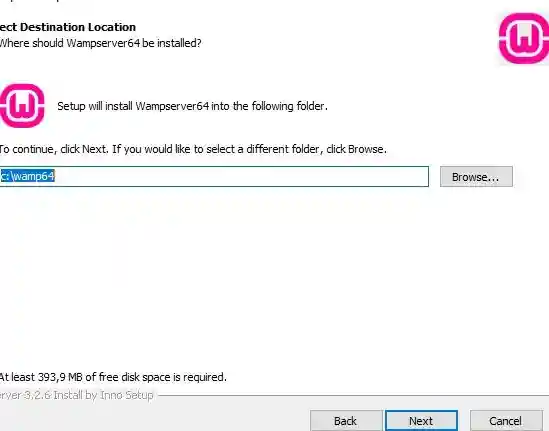
On the next screen, click on “Next“
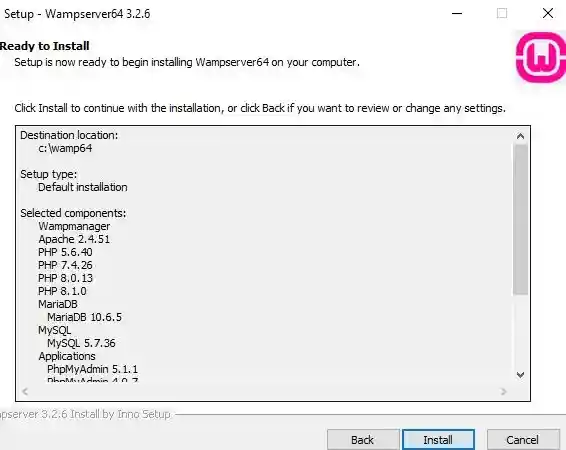
Then click on “Install“
If needed, click “Yes” to change the default browser installed on your system
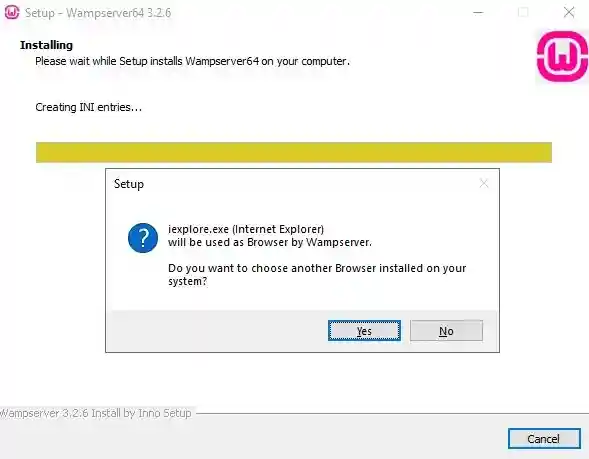
Setting up WAMP
As the installation completes, launch WAMP from the start menu.
Click on “PhpMyAdmin“,
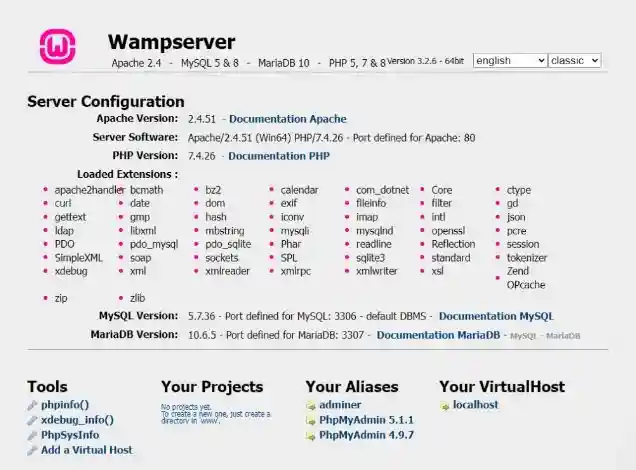
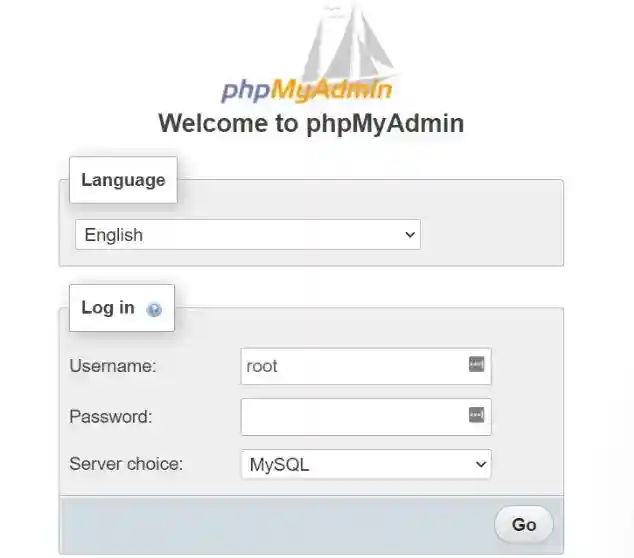
Then on the PhpMyAdmin screen, enter “root” under “username” field, leave the “password” field blank, and click on “Go“
Click on “Databases“, and enter your database name (keep it simple, for example wordpress)
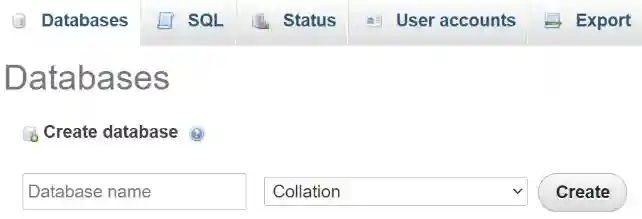
Select “collation” in the field beside and click on “Create“
Installing WordPress
Now download the latest version of WordPress from WordPress.org
As it’s downloaded, extract it to “c:\wamp\www\” and change the “WordPress” folder name to “testsite“
Now open any browser and visit “http://localhost/testsite“
WordPress will ask for some details, enter as shown below
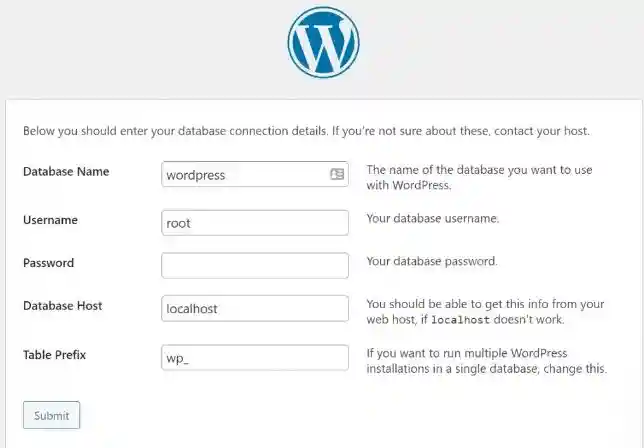
Database name - wordpress
Username - root
Password -
Database Host - localhost
table prefix - wp_
Click on “Submit“
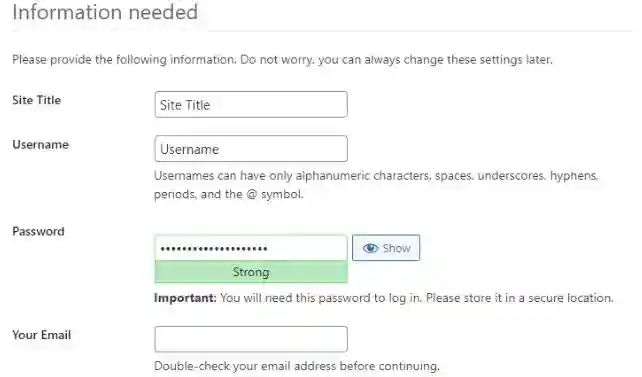
On the next screen, enter the details as per your wish and proceed further
Finally, visit “http://localhost/testsite/wp-admin” and login.